A WiFi-Connected Digital Clock with Temperature and Humidity
The ESP8266 WiFi modules have been a blast to play with. Lots of folks are making inexpensive IoT devices with these, such as sending real-time temperature and humidity as MQTT data for crowdsourced data or home automatoin, but why not add a clock so you can also use it daily?
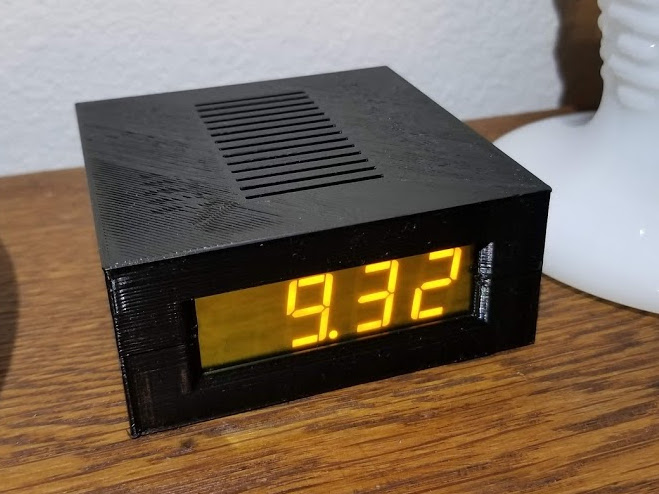
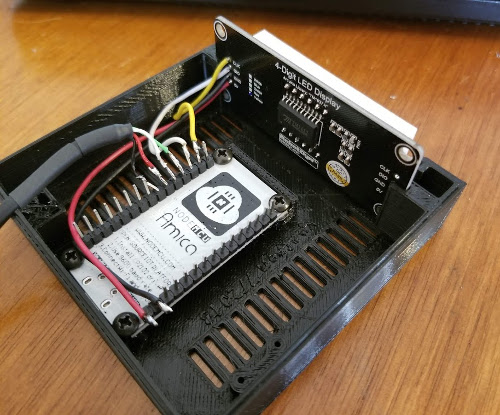
In this project, I have add a simple 4-digit 7-segment LED display to an ESP8266 running as an MQTT client to make a clock sending temperature and humidity readings.
Introducing… EnviroClock
Features
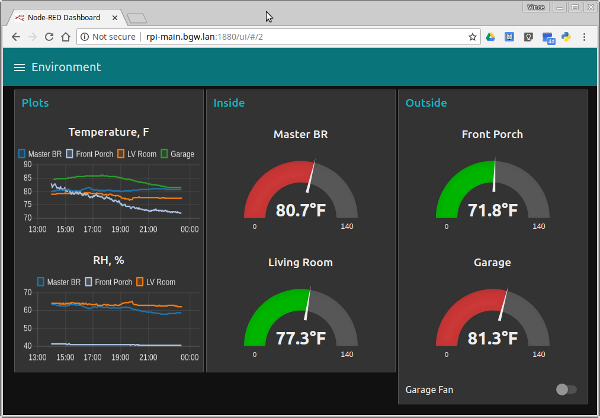
- Publishes MQTT messages every few minutes for home automation/IoT
- Low power. Any lousy USB charger can provide the 200 mA it needs.
- Big, long-life display shows time, temperature and humidity
- Displays IP address after connecting to WiFI
- Automatic time setting via NTP internet server
- Written in MicroPython. Over-the-air control and firmware update.
Why a NodeMCU ESP8266?
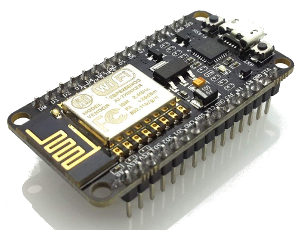
ESP8266 does WiFi, runs MicroPython and boots in 1 second. The NodeMCU version comes with built-in USB-to-Serial and runs off any crappy USB charger (or PC port), and it is super cheap, from $3 to $8! The ESP is great for low-cost IoT!
An Atmel Arduino would need a separate WiFi module and I’d have to write in C. A Raspberry Pi would be overkill and much more expensive and take 30 to 60 seconds to boot. The ESP8266 is nearly the price of just the SD card needed for a Raspberry Pi.
Why an old-style 7-segment display?
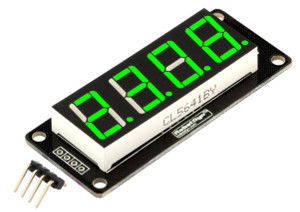
Because 7-segment LEDs can be seen from afar, they run forever, and they are cheap!
LCDs are hard to see, big color ones are expensive, OLEDs can fade after a few months of being continuously on and the cheap ones are super tiny. I want 5 of these in various places around the house running forever.
The serial interface of the modules that use the TM1637 and TM1638 controller ICs make wiring very easy.
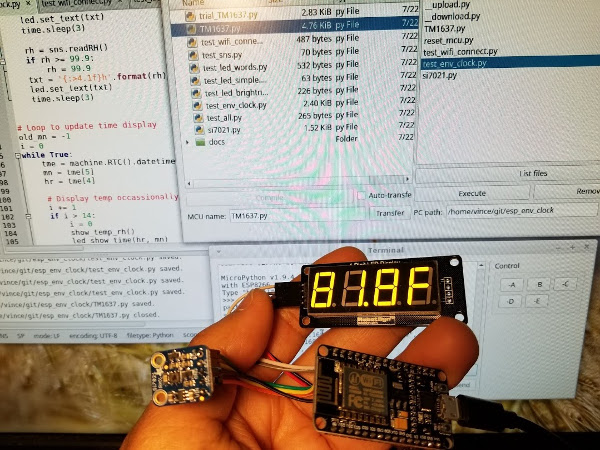
MicroPython and uPyLoader
Instead of using the Arduino IDE and writing in C, you can use MicroPython on these things. You actually get a Python REPL (prompt) over the serial interface.
You have to be super careful with memory usage though because Python can quickly use up the 24k of free RAM! The trick is to call rc.collect() every main loop to clear out the heap and not rely on automatic garbage collection.
For easier control and program upload, a fellow named BetaRavener has written an incredibly useful GUI named uPyLoader to control these ESP8266 MicroPython boards. Geany and uPyLoader are in the background of the photo below.
The GUI lets you easily upload and execute the code. You can even connect to your ESP8266 over WiFI. No need to climb into the attic to update firmware or change configuration.
Code and Configuration
Code and technical details is on github
You must change the AP name, password, and other configuration to
suit your network settings. Just edit the config.json file. The
names should be self-explanatory.
3D Printed Case
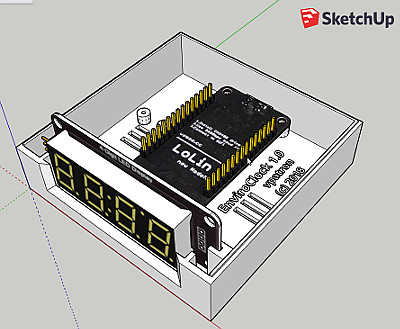
The case was 3D printed. It was a nice excercise to improve my knowledge of Sketchup. Printing was done on the cheapie $169 HobbyKing 3D printer.
One thing cool is that someone had already put a professional-looking 3D model of the LED display and the NodeMCU board so that helped a lot.
Future To Do
- Add code to automatically adjust for daylight savings. (Why do we even bother with something so dumb, confusing and wastes time!)
- Add HTTP request as an alternative to MQTT
**[TODO] finish article**
Comments